Create Work Request
Objective: Gain an understanding of how to create a Work Request.
Work Request Framework
Work Requests can be created without specifying an asset, however, if an asset is specified the asset needs to be in an 'Active' or 'Decommissioned' state.
Creating a Work Request
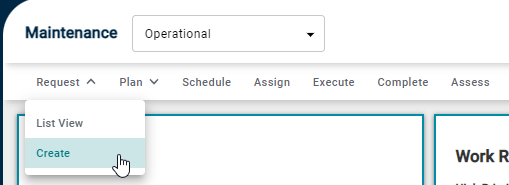
Access Work Requests "Create" by selecting "Maintenance" from the Navigation Sidebar, and "Operational" from the Navigation Dropdown.
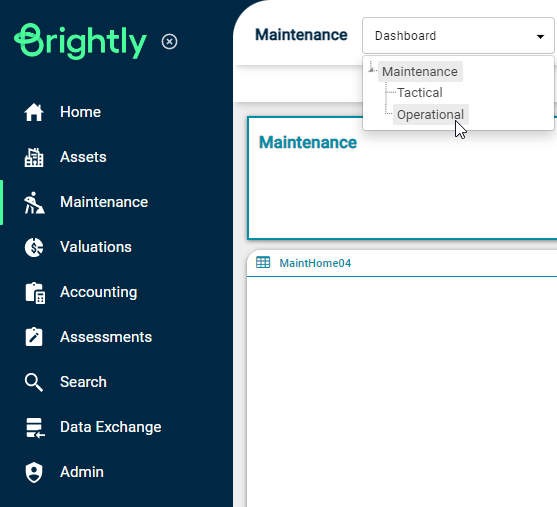
Select "Create" from the Requests tab to open the Create Work Request page.
The create work request screen has eight categories that can be populated with data (some fields are mandatory for the Work Request Gatekeeper to give approval). The eight categories are Request Details, Asset Details, Requestor Details, Request Priority, Additional Info, Supporting Information, Defect Location and Attachments.
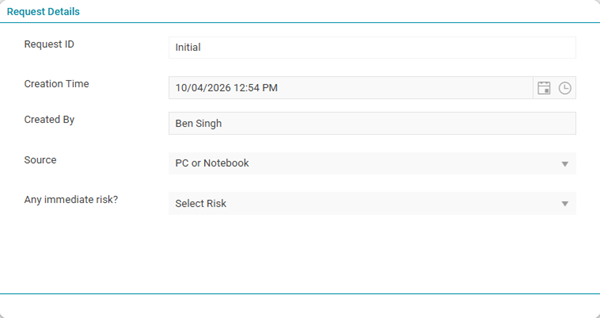
Request Details
The following information is manually entered or is assigned by the system.
-
Request ID: Automatically assigned by the system to provide a unique ID.
-
Creation Time: Automatically generated by the system.
-
Created By: Automatically generated by the system.
-
Source: A drop-down list function that enables the selection as to where the original request was logged.
-
Any immediate risk?: An optional drop-down list provides the option to select either environmental, safety, organisational, or no immediate risk.
Asset Details
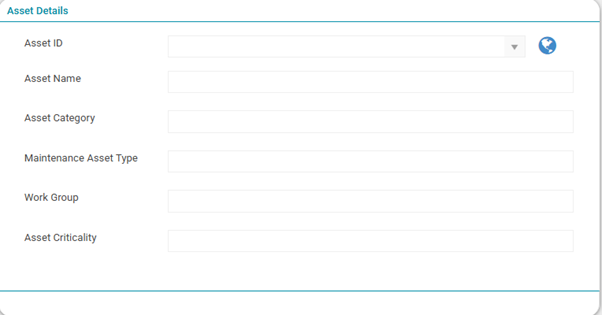
This area contains important information specific to the Asset. The following information needs to be manually entered or is assigned by the system.
-
Asset ID: The Asset ID is entered either manually, through a drop-down list, or by clicking on the globe icon to select a nearby Asset from the map.
-
Asset Name: This section will be automatically populated after the Asset ID has been selected.
-
Asset Category: This section will be automatically populated after the Asset ID has been selected.
-
Asset Type: This section will be automatically populated after the Asset ID has been selected.
-
Work Group: This section will be automatically populated after the Asset ID has been selected.
-
Asset Criticality: This section will be automatically populated after the Asset ID has been selected.
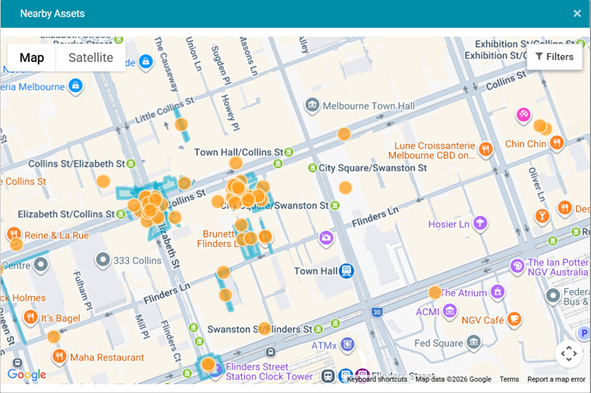
The Globe icon (
 ) opens the Nearby Assets map where users can select the Asset based on the spatial information.
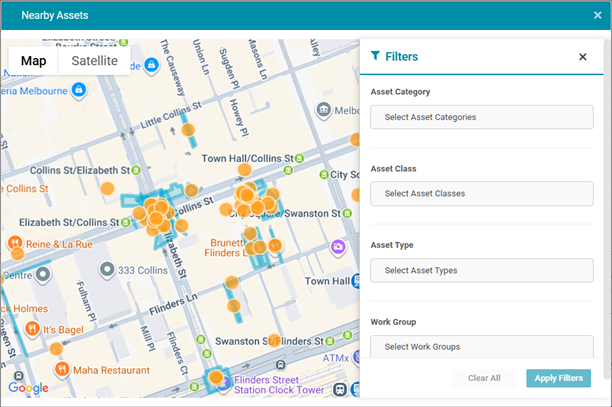
Users can filter Assets by Asset Category, Asset Class, Asset Type and/or Work Group with the Filters section as shown below:
Requestor Details
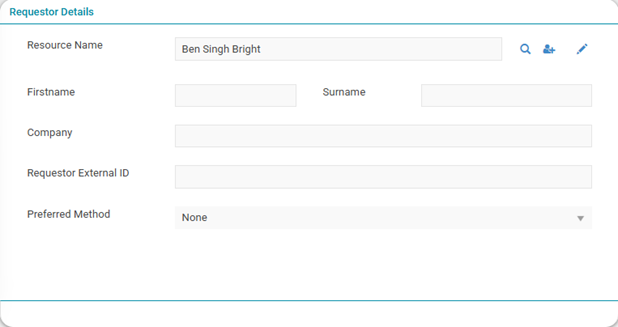
This area contains requestor specific information to assist with tracking the original source of the request for work.
-
Resource Name: The name of the resource who has requested this action. This resource field requires the Resource Type of User, Customer or Employee. This field can be modified by selecting any of the following symbols
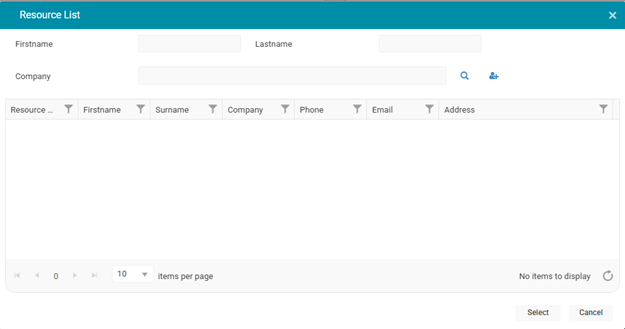
Selecting the magnifying glass symbol  provides the following view. This view allows the user to search by either a first name, last name or company. It will show those that already exist in the field. Alternatively, a new resource can be added by selecting the person symbol.
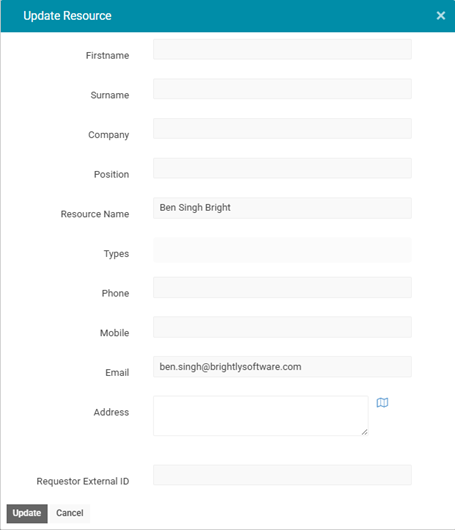
Selecting the person symbol produces the following view. This allows a user to build resource-specific information such as name, company and contact details.
Selecting the pen symbol allows a user to update the resource-specific information. If data for the user is already populated it will produce a screen similar to the picture above but with some data fields entered.
Additional Info
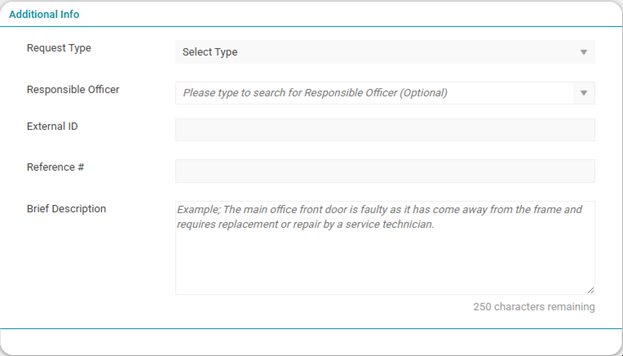
This section includes additional information such as linkage to other systems and request information.
-
Request Type: This drop-down list is configurable under the categories incident, problem and change.
-
Responsible Officer: A resource to be designated as the Responsible Officer for the Work Request, which can be entered manually or selected using the drop-down list. The Responsible Officer must be an active resource. This resource field requires the Resource Type of User, Contractor, Employee or Company.
-
External ID: This field is available to reference an external ID either through integration or manually.
-
Reference #: This field is available to display a reference number external to Assetic's numbering system.
-
Brief Description: This field enables a user to enter information that is high level to explain the issue.
Reactive Inspection
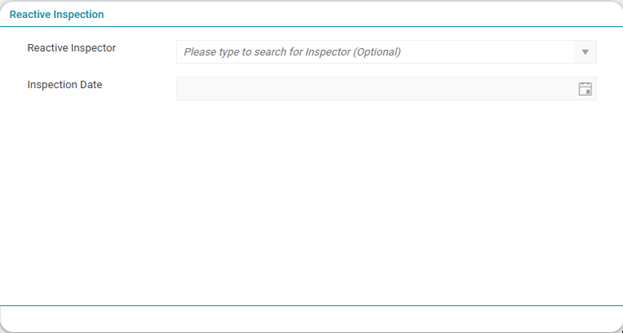
This section provides information on the assigned personnel carrying out the Work Request.
-
Reactive Inspector: The Inspector who is assigned the Work Request is entered manually or through the drop-down list. Inspectors must be an active resource. This resource field requires the Resource Type of User, Contractor, Employee or Company.
-
Inspection Date: This field represents the date of inspection carried out by the assigned Inspector and is set manually by the Work Request creator.
Request Priority

This section contains information pertaining to the priority of the work request. The following information needs to be manually entered or is assigned by the system.
-
Work Order Priority: A drop-down list that provides options specific to the asset priority levels.
-
Acknowledge Due Date: This field is automatically populated based on the value set in the Admin - Work Request - Internal Service Level menu, however, can be manually changed.
-
Resolution Due Date: This field is automatically populated based on the value set in the Admin - Work Request - Internal Service Level menu, however, can be manually changed.
Supporting Information
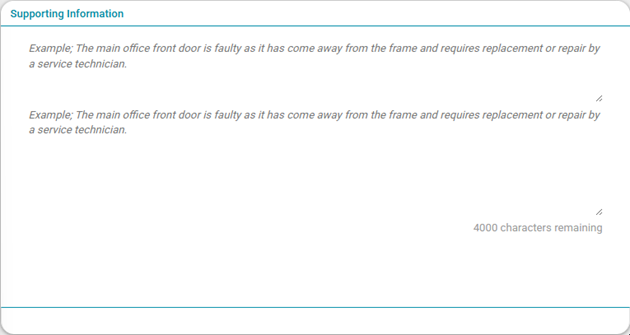
This area keeps a log of additional information that has been entered into a work request that can give time-stamped updates of information as well as provides an area for detailed work request info.
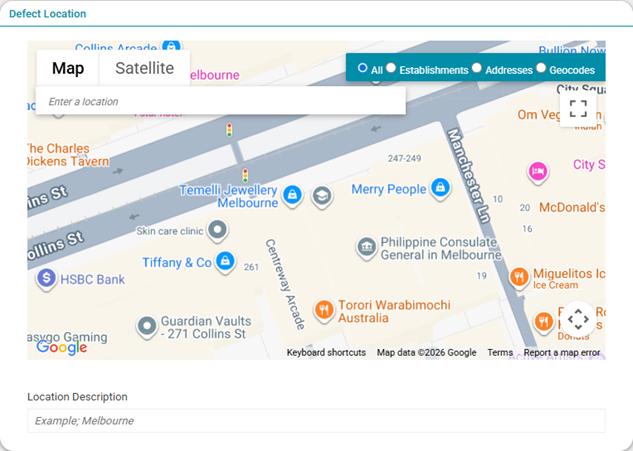
Defect Location
The location of the defect is to be selected using the mapping function embedded in the work request. Click on the search bar and enter the address or GIS location using a Google maps search functionality.
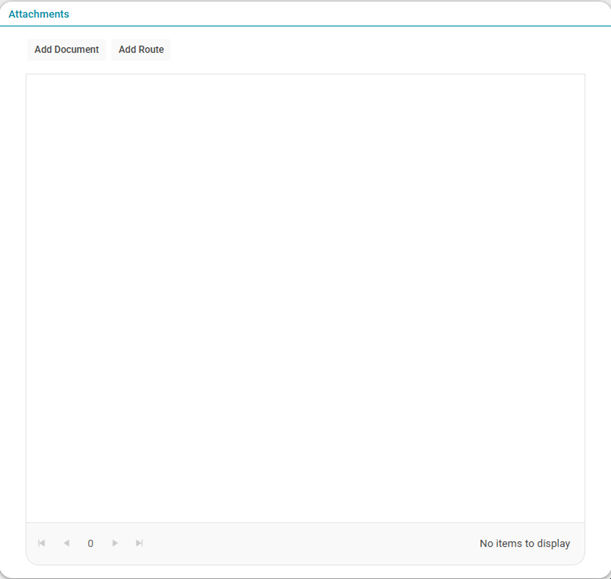
Attachments
Attachments are able to be inserted into a work request to provide additional information. An attachment can be from many sources, such as photos, assessments, manuals, etc. By attaching to a work request, this file will then be available for the work request approval as well as available to those that would conduct the work in the future.
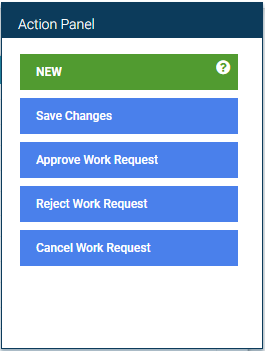
Actions
Once the requester has entered the data they then select the "Actions" button in the upper right corner of the Work request
Save Changes: By selecting the save changes button this moves the work request to the waiting for approval status by the work request gatekeeper.
Further explanation of the functions of other buttons is located in the Approve Work Request section.
Work Request Resource Type Requirements
Resource fields within Work Requests have restrictions on which resources can be selected for these fields based on the Resource Type. For example, when populating the Responsible Officer field, only Resources which have the Resource Type of Contractor, Employee, or Company, or are linked to a User will be valid options. These Resource Type restrictions apply when Resource fields are populated manually or populated using the Assetic REST API.
Organisations can use Data Exchange to update existing Resources with the Types needed in order to ensure Resources are compatible with appropriate fields. Additional information on updating resources in bulk via the Data Exchange can be found here.
A table detailing which Resource Types are usable by which Work Request Resource fields is included below.
| Work Request Fields | Resource Type | ||||||
| User | Team | Customer | Contractor | Employee | Company | None | |
| Requester | Y | Y | Y | ||||
| Reactive Inspector | Y | Y | Y | Y | Y | ||
| Responsible Officer | Y | Y | Y | Y | |||
